
Assess the concreteStep 01
Moisture, contamination, cracks and jointsRecord slab conditions and existing materials. Separate suitable repairs from defects or movement requiring another solution.
Ships nationwideHazmat items are in-store pickup only10 locationsNow booking Oct & Nov training
A sound floor starts below the coating. Assess the concrete, resolve repairs and create the profile required by the next layer.
Choose preparation methods and repair materials for the slab and coating together. CrackStarz PolyFast is one product option for suitable repairs.
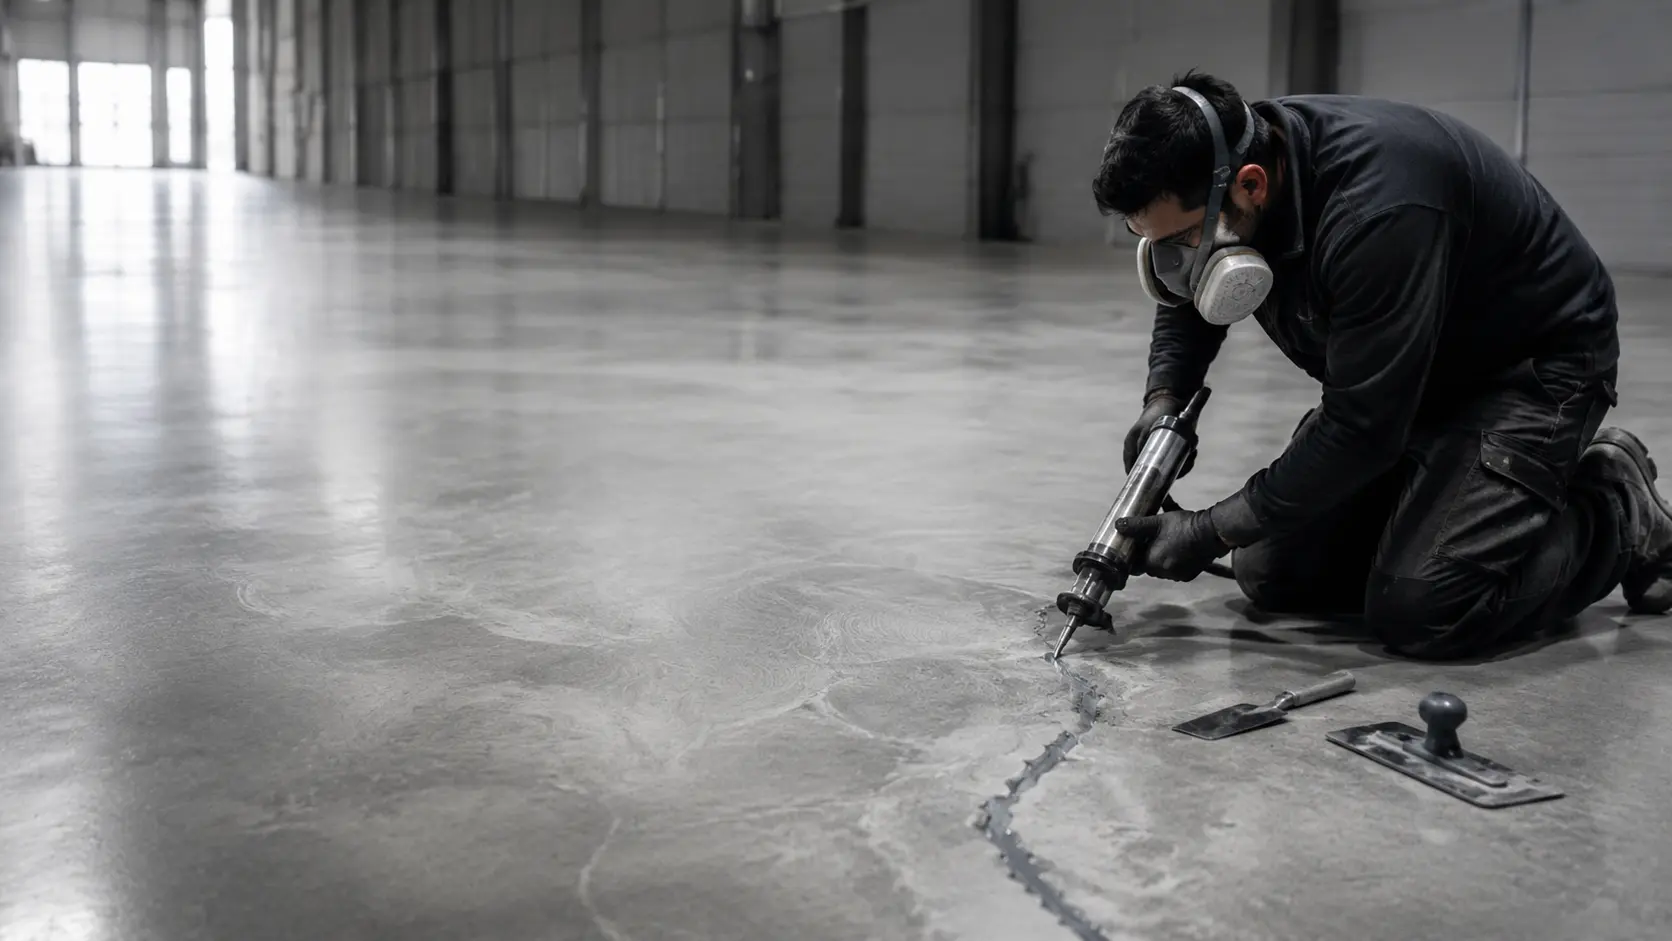
This is a workflow on the same slab, not a stack of added coatings. The exact order, tools and repair details follow the project specification.
Record slab conditions and existing materials. Separate suitable repairs from defects or movement requiring another solution.
Remove incompatible coatings and bond-breaking contamination with a method selected for the substrate and next product.
Use a compatible repair for the defect. Confirm joint treatment and do not assume a crack filler is a structural or universal joint solution.
Bring repaired areas and the surrounding slab to the required profile. Remove dust and debris using the specified process.
Check preparation, repairs and moisture acceptance against the next product’s requirements before mixing the coating.
Preparation and repair steps can be staged differently for different slabs. Follow the selected coating and repair documents. A surface profile is not a universal number for every product, and cleaning alone does not establish the required mechanical profile.
Identify contamination, old coatings, moisture, movement and defects while they can still be evaluated and addressed.
Use a specified repair product for suitable conditions. Keep joint movement and structural questions in the repair plan.
The installer needs a sound, clean slab with the required profile and compatible repairs before coating begins.
Application examples guide the specification discussion. Confirm the complete assembly and actual service conditions before product selection.
Grinding equipment, dust control and repair tools are selected for the work. Confirm current equipment availability through the product catalog; no unverified machine model is specified here.
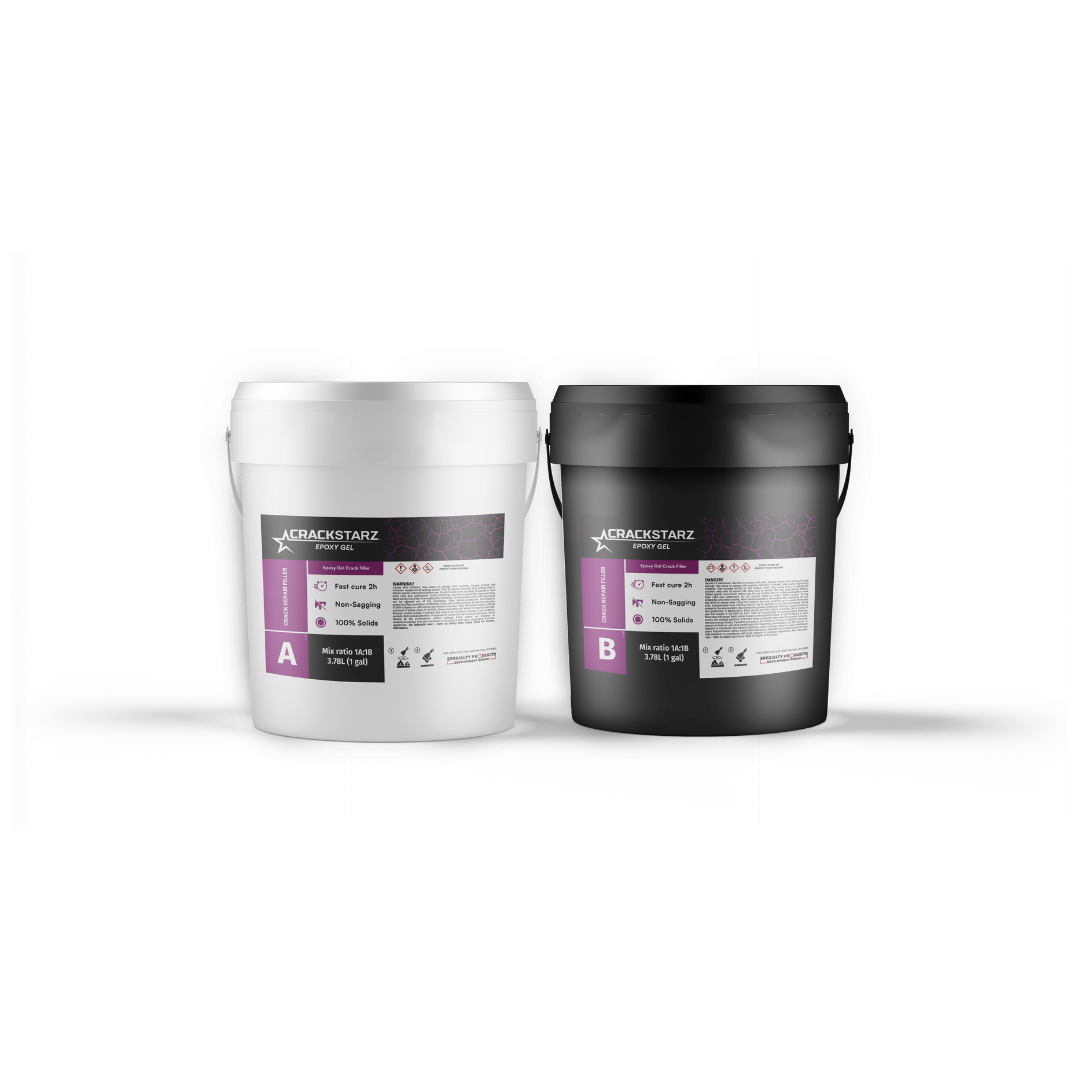
A crack filler for suitable specified repairs. CrackStarz Epoxy Gel is the epoxy option. Confirm defect type, preparation and coating compatibility.
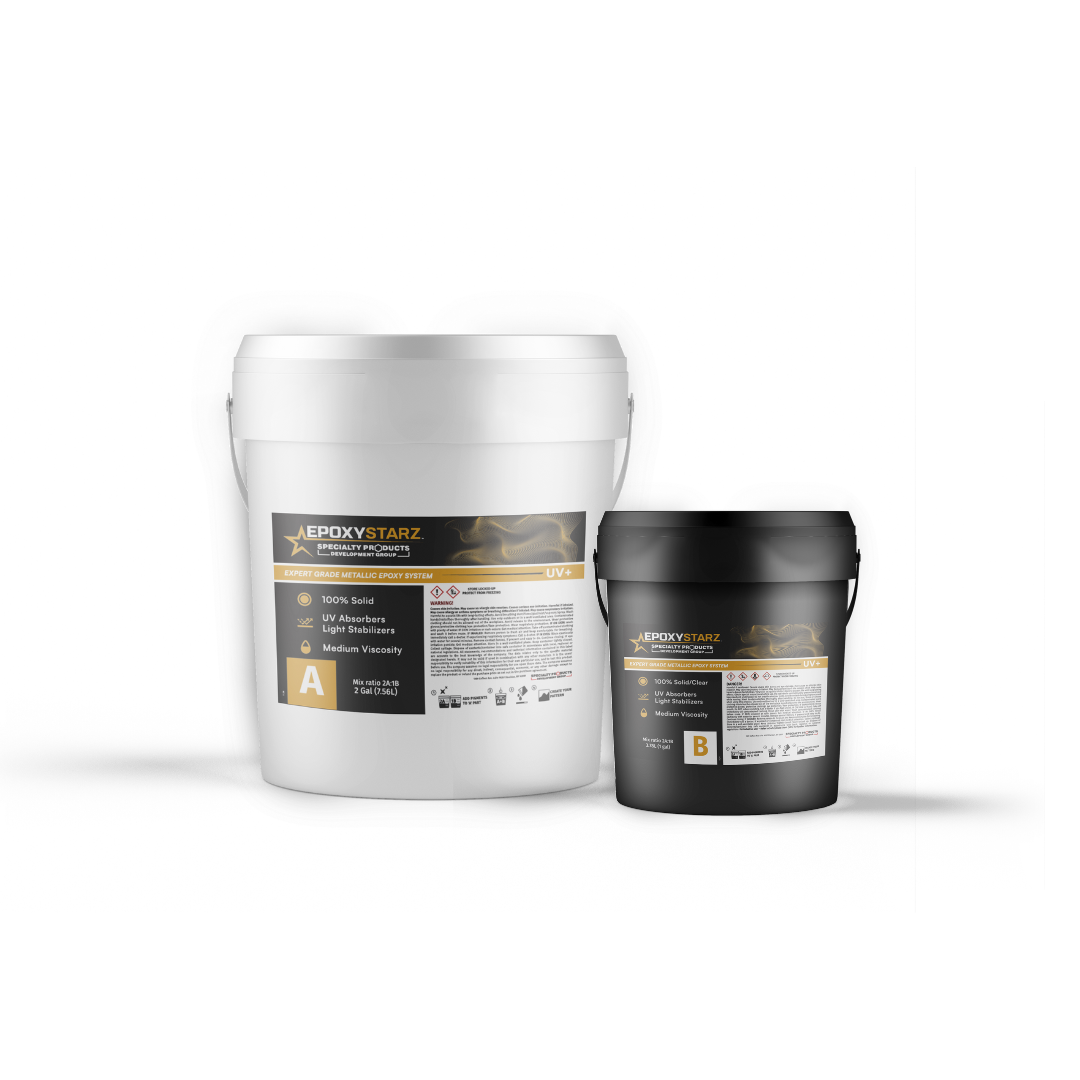
Its technical sheet defines preparation requirements for an EpoxyStarz coating path.
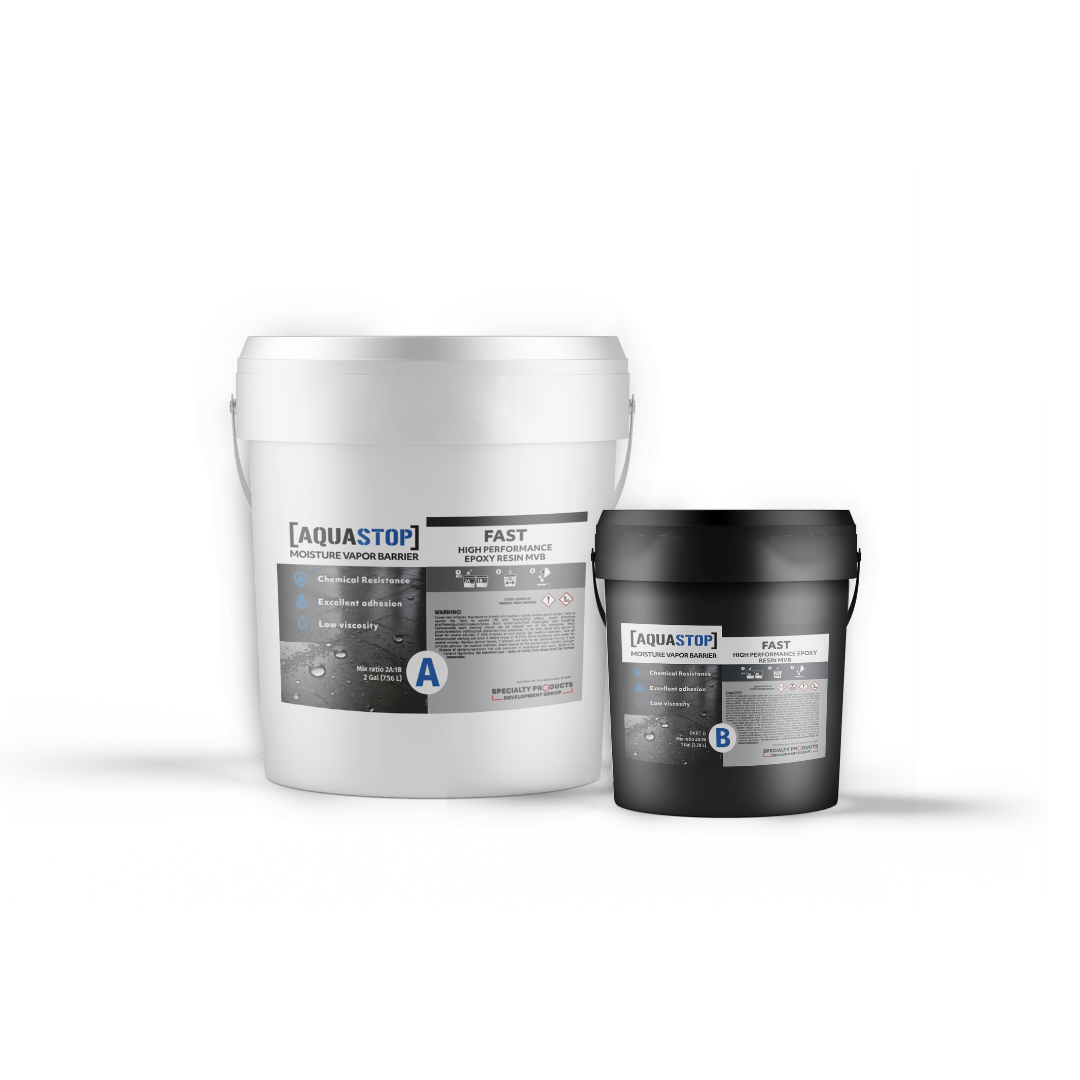
Consider only after testing and product selection; it does not replace repairs or mechanical preparation.
Record coatings, contamination, cracks, joints, moisture information and previous repair areas. Identify concerns that require a qualified assessment before a coating repair is proposed.
Use the next product’s required profile and substrate criteria to choose tools and preparation methods. Include dust control and handling requirements from current product and equipment instructions.
Determine which defects are suitable for the selected repair material and which need a different detail. Preserve specified movement joints; do not blanket-fill every joint with crack filler.
Follow the repair product’s instructions, then bring repairs to the required finish and profile. Clean the prepared slab using methods compatible with the next coating.
Check soundness, contamination removal, repairs, profile and moisture acceptance. Record the condition and resolve failures before applying the next product.
Share the slab history. Tell the installer about old sealers, oils, leaks, coatings and recurring cracks.
Expect preparation work. Coating proposals should describe removal, repair and profiling work, along with access and dust-management arrangements.
Ask about joints. Understand which joints remain visible or need a movement-compatible detail in the finished floor.
Choose the finish together. The preparation standard depends on the product path that will go over the slab.
Ask a system question ↗Read the TDS for preparation and application, and the SDS for handling. Request written guidance when the complete assembly needs confirmation.
Supplied preparation reference. The image illustrates concrete work, not an approved tool selection or repair procedure.
Get the products, project conditions and next steps clear before installation.
Cleaning removes certain contaminants, but it does not by itself establish the mechanical profile required by the coating. Select the preparation process from the next product’s current technical sheet and the slab condition.
The repair material must suit the defect and its movement conditions. Evaluate cracks and joints before selection, and obtain separate guidance for structural issues or repairs outside the product’s approved use.
Do not assume they can be filled and coated as ordinary cracks. Confirm the joint detail and movement requirements with the project team before the floor is installed.
Use the profile required by the actual coating or treatment being installed, together with the slab condition and manufacturer approval. There is no single profile number published here for every U.S. Resin product.
Assess the existing material, adhesion, contamination and compatibility first. The selected product may require removal or a specific preparation and test process. An intact-looking coating is not sufficient approval to overcoat.
The repair and next coating requirements both apply. Confirm cure, surface finishing, profile, cleanliness, moisture acceptance and any recoat conditions before mixing the coating.
Products, documents and support for the next step.