
Selected final protectionFinish to specify
Pro Epoxy clear finish or another approved topcoatChoose the final finish for the service conditions. A separate additional topcoat is included only when specified.
Ships nationwideHazmat items are in-store pickup only10 locationsNow booking Oct & Nov training
Flowing color. Individual patterns. A metallic epoxy floor makes the surface part of the design.
For interior feature floors and showrooms, with an approved sample and a specified protective finish.
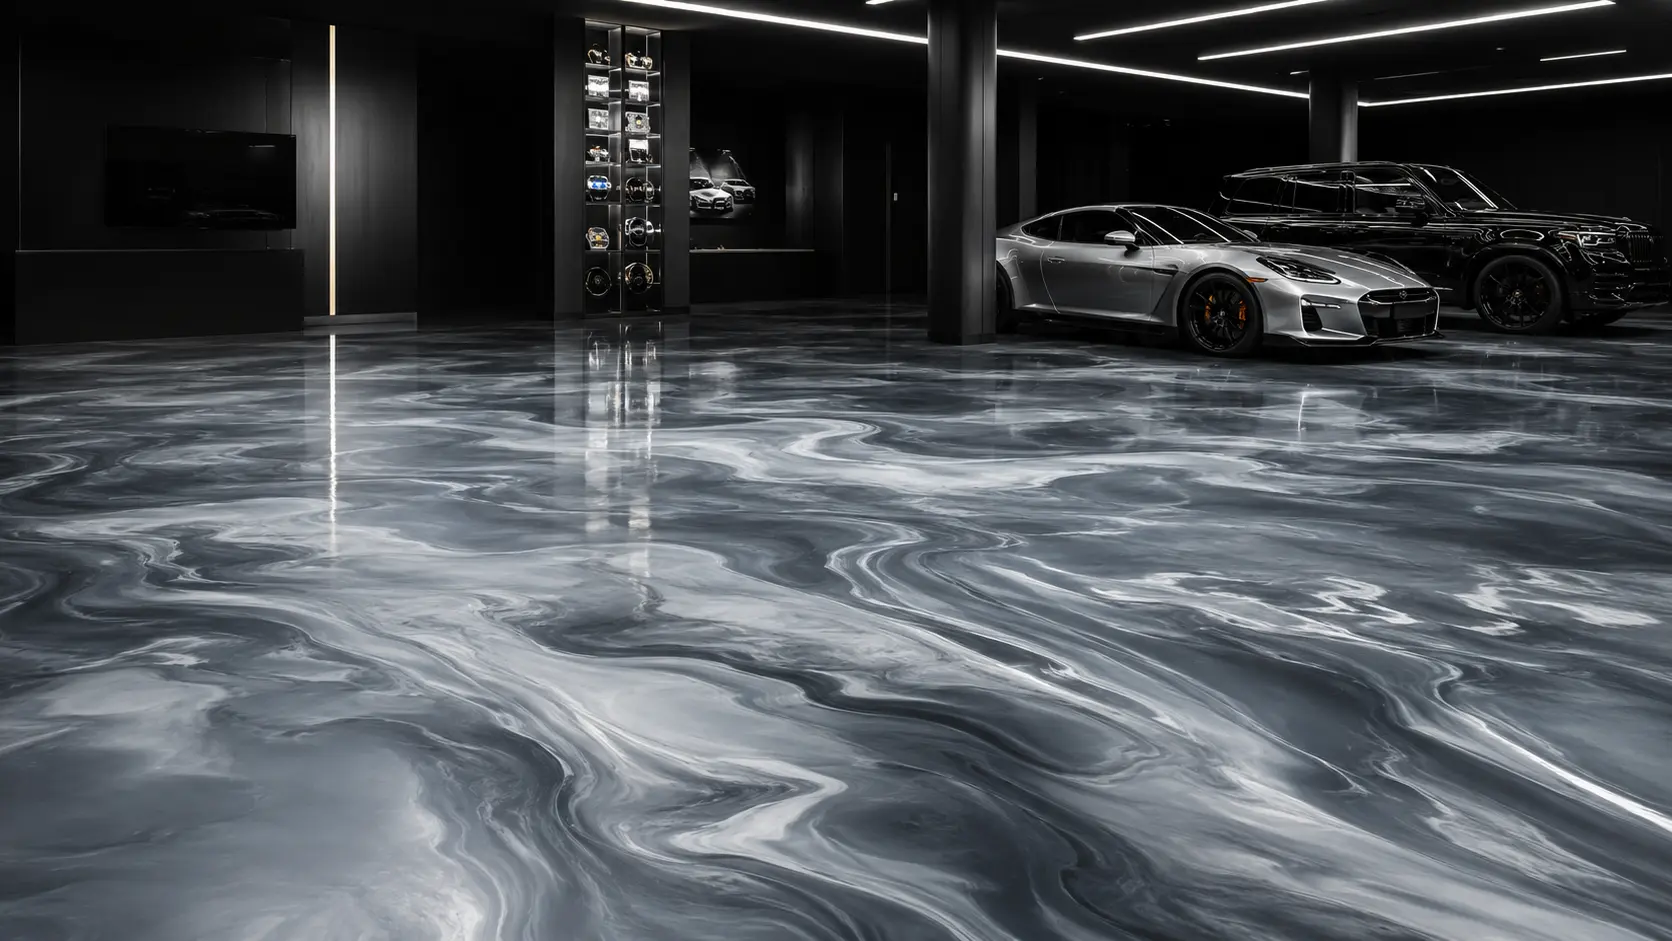
Color, base preparation and the final surface work together. This is an educational path to discuss with your installer.
Choose the final finish for the service conditions. A separate additional topcoat is included only when specified.
Pigment and application technique create the pattern. Confirm the pigment, loading and decorative-coat procedure.
Confirm the base color and primer arrangement for the metallic design. Do not assume every base is interchangeable.
Select one product after moisture testing and confirm its interface with the next coating.
Establish sound, clean, profiled concrete. Evaluate moisture, cracks and joints before choosing the coating path.
The Pro Epoxy TDS identifies a clear coating for metallic systems and describes pigment options. The complete primer, decorative coat and final protection sequence needs project approval. Diagram thicknesses and layer separation are illustrative.
Metallic pigment and placement techniques create variation across the floor. Approve a sample that reflects the intended color and movement.
Pro Epoxy is documented for metallic flooring. Use its current technical sheet to plan preparation, application and any additional finish.
Plan grit removal, suitable cleaning and protective pads under movable items. The selected topcoat and daily use affect the care routine.
Application examples guide the specification discussion. Confirm the complete assembly and actual service conditions before product selection.
Metallic pigments are selected from current color resources. Confirm the actual pigment SKU and loading with U.S. Resin before ordering.
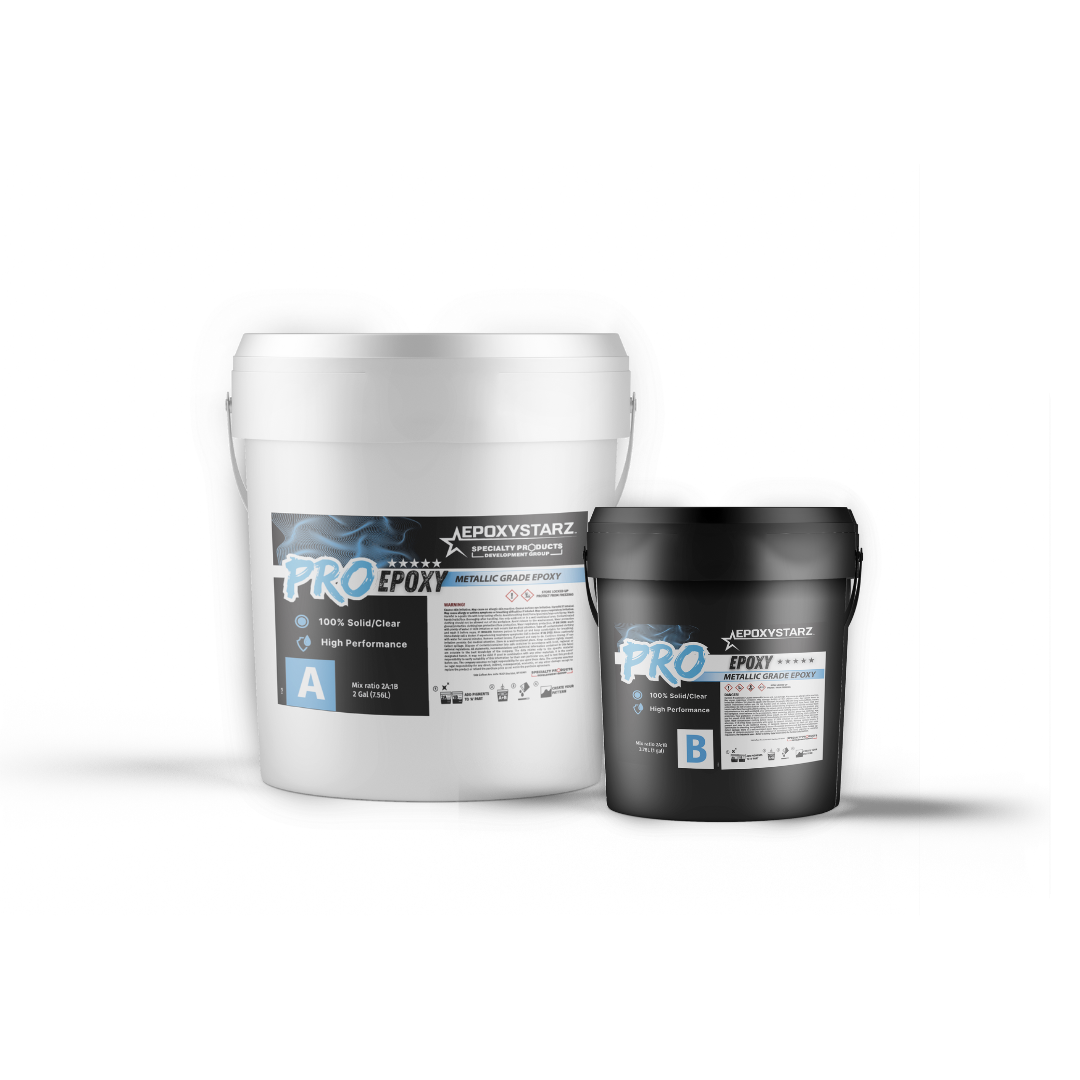
Metallic-grade epoxy; approve its role in each coat and the complete decorative procedure.
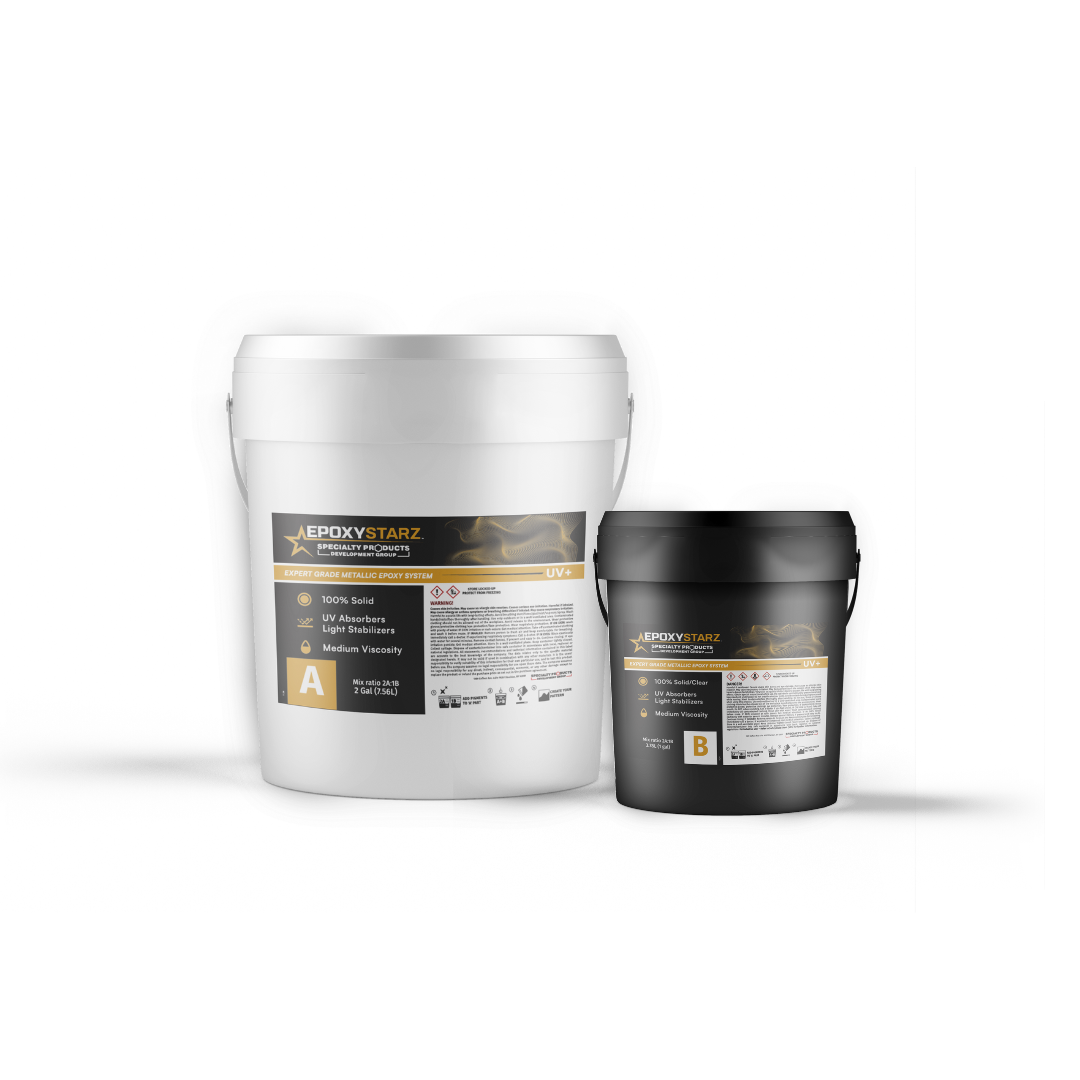
A compatible product family named by the Pro Epoxy TDS. Confirm the exact base and color.
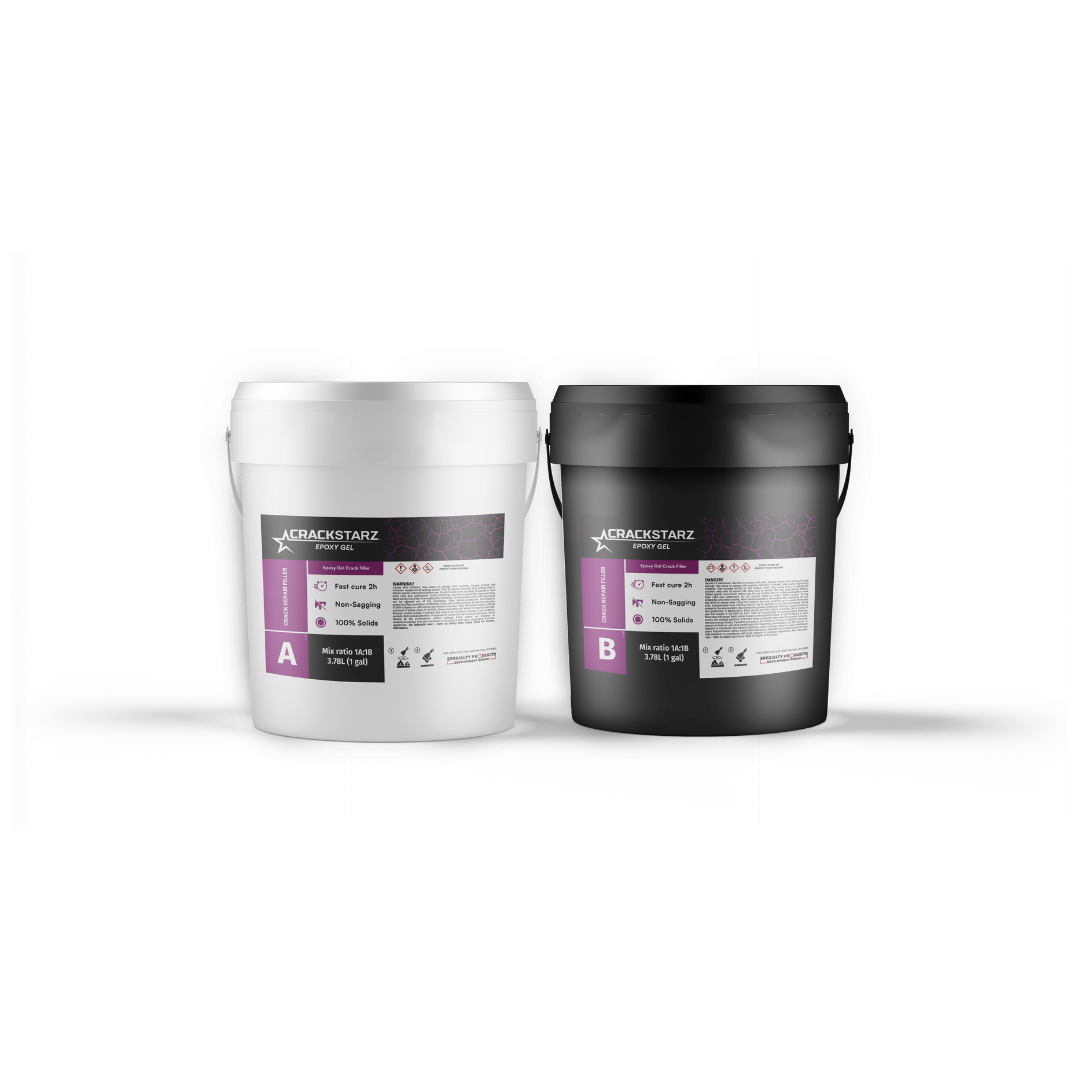
Assess defects before coating; poorly finished repairs can affect the decorative surface.
Agree on the pigment, color combination, movement and final surface in a physical sample. Record the base color and application method. A photograph does not define a repeatable floor pattern.
Test the concrete using the selected product’s required method. Remove incompatible coatings and contamination; identify repairs that could show through the finished floor.
Use the Pro Epoxy TDS for mixing and application conditions. Confirm pigment loading, batch sizes, crew responsibilities and the working sequence before starting.
Decide whether the specified Pro Epoxy finish is the final surface or whether an additional compatible topcoat is required. Confirm preparation and recoat requirements for that exact combination.
Record product and pigment batches, the accepted sample and installed layers. Provide the owner with the approved cleaning method and return-to-use schedule for the complete build.
Approve variation. The finished pattern will have its own flow. Review a physical sample and discuss how much movement and contrast you want.
Discuss sunlight. Tell your installer about glazed doors and strong sunlight. Epoxy can change color with UV exposure; select the complete finish accordingly.
Plan protection. Use suitable entrance mats and protective pads, remove grit and avoid dragging furniture across the floor.
Agree on access. Confirm separate dates for walking, furniture placement, cleaning and full service.
Ask a system question ↗Read the TDS for preparation and application, and the SDS for handling. Request written guidance when the complete assembly needs confirmation.
Supplied metallic finish inspiration. Color and pattern are references for a sample discussion.
Get the products, project conditions and next steps clear before installation.
No. Metallic placement and flow create individual patterns. Use the photograph to discuss a direction, then approve a physical sample, color combination and expected range of variation.
Metallic describes the decorative epoxy finish placed over a prepared substrate. The concrete still needs the moisture assessment, repairs and surface preparation required by the specified coating path.
This page uses Pro Epoxy as the metallic-grade product to specify. Confirm the exact pigment, base color, decorative procedure and final protection with U.S. Resin; the diagram is not a complete installation specification.
The final protection depends on the complete build and service conditions. The Pro Epoxy TDS describes a clear finish for metallic systems and allows additional protection where required. Confirm whether a separate topcoat is part of your specification.
Discuss UV exposure before selection. Epoxy can amber, so the pigment, location and complete protective finish need to be considered together. An attractive indoor sample is not approval for exterior use.
After full cure, remove grit and spills promptly, use approved neutral cleaners and soft cleaning tools, and protect the floor from dragged objects. Ask for care instructions for the actual final topcoat.
Products, documents and support for the next step.