
Protective clear coatFinish layer
PolyStar PRO STProtects the decorative surface. Confirm final sheen and any texture additive in the project specification.
Ships nationwideHazmat items are in-store pickup only10 locationsNow booking Oct & Nov training
Choose the color. Build in the texture. Protect the finish with a coordinated epoxy and polyaspartic product path.
For garages, showrooms and retail spaces, with the build specified for the project.
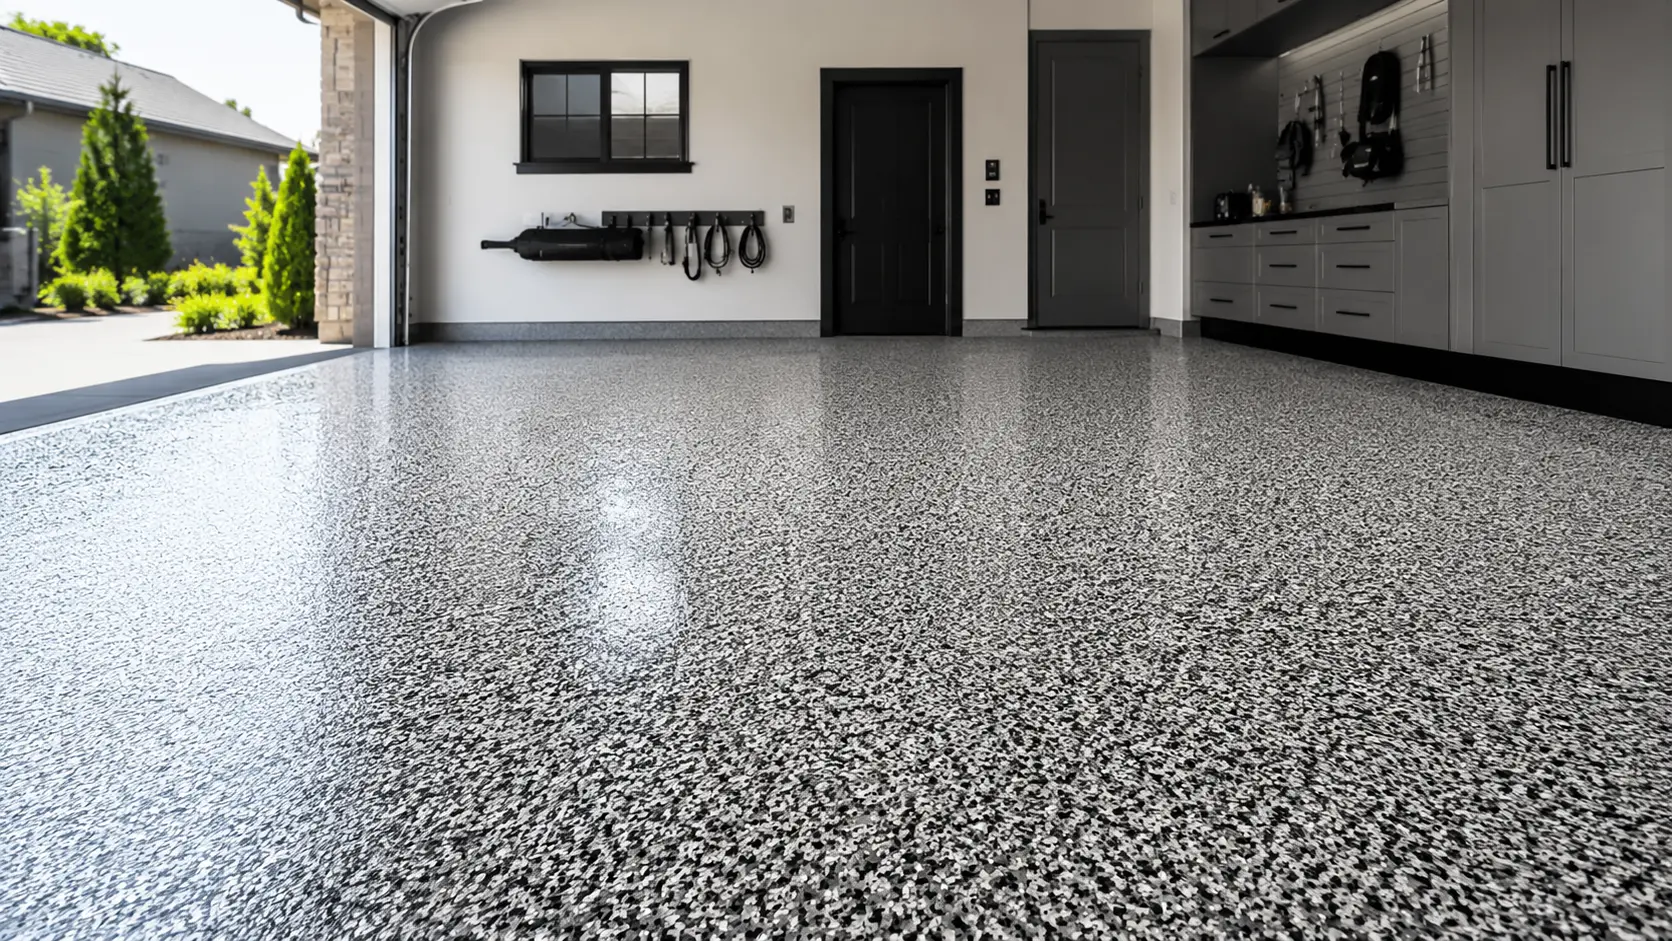
The finish is only the surface. The preparation and compatible layers beneath it determine the product path.
Protects the decorative surface. Confirm final sheen and any texture additive in the project specification.
Chips create the color blend and pattern. Confirm the broadcast level and prepare it for the specified clear finish.
Forms the coating base that receives the flake. The current EpoxyStarz TDS identifies it as self-priming.
Selection follows moisture testing. Confirm the product, application and transition into the coating above.
Establish sound, clean, profiled concrete. Evaluate cracks and joints and make the specified repairs.
Typical system path, not a project specification. Moisture treatment, repairs and any additional primer are selected for site conditions. EpoxyStarz is self-priming; a separate primer is not automatically required. Confirm the complete assembly with U.S. Resin technical support.
Use the vinyl flake chart to choose a color direction, then approve a physical sample of the finished build.
PolyStar PRO ST is documented as a protective polyaspartic topcoat compatible with decorative chips and EpoxyStarz.
Remove grit, clean spills promptly and use approved neutral cleaners and soft pads after the floor has fully cured.
Application guidance is a screening tool. Confirm the full assembly, traction needs and service conditions before selection.
Select the exact kit and specification with U.S. Resin. Product images below come from the current Supply catalog and color resources.
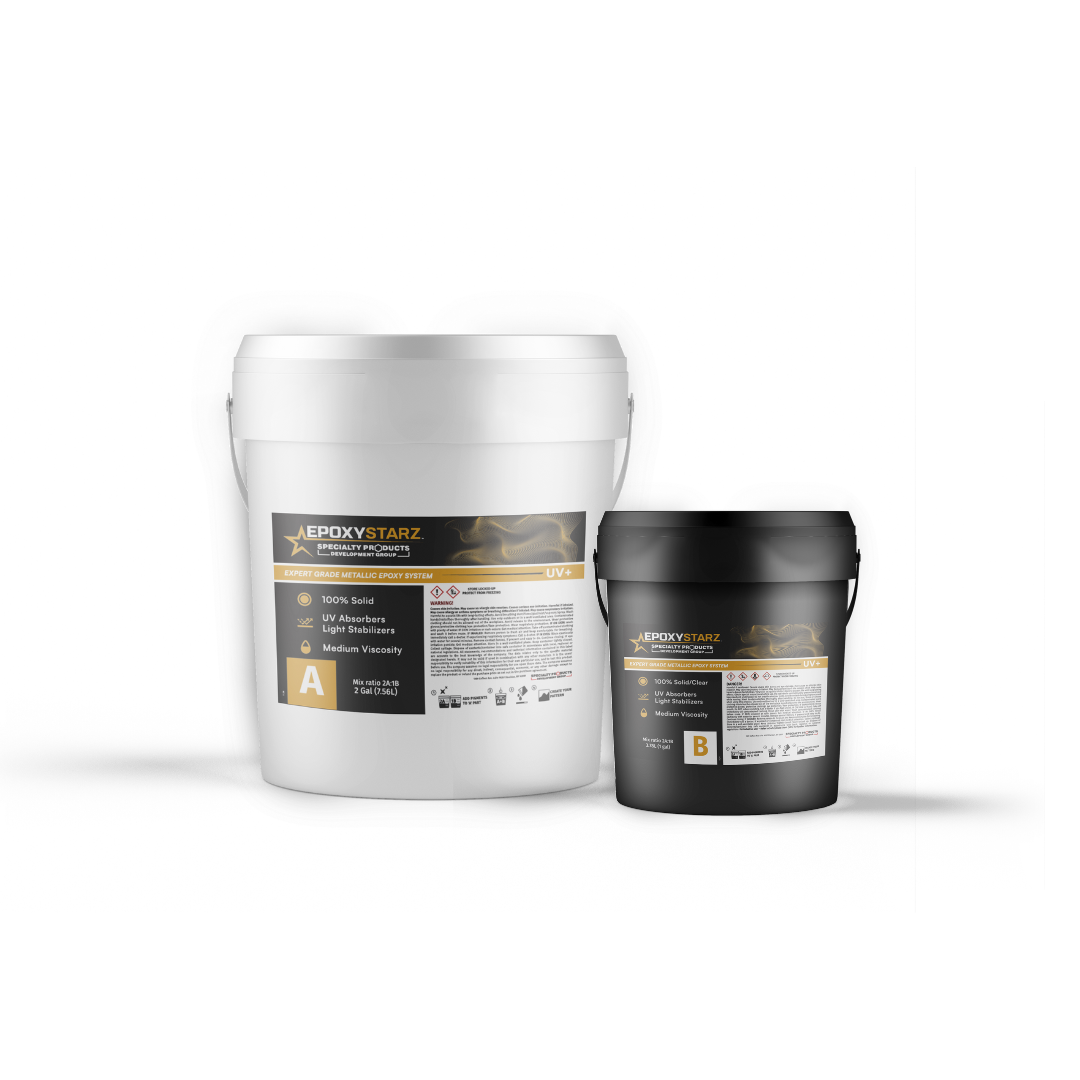
Self-priming epoxy base for the typical flake path shown.
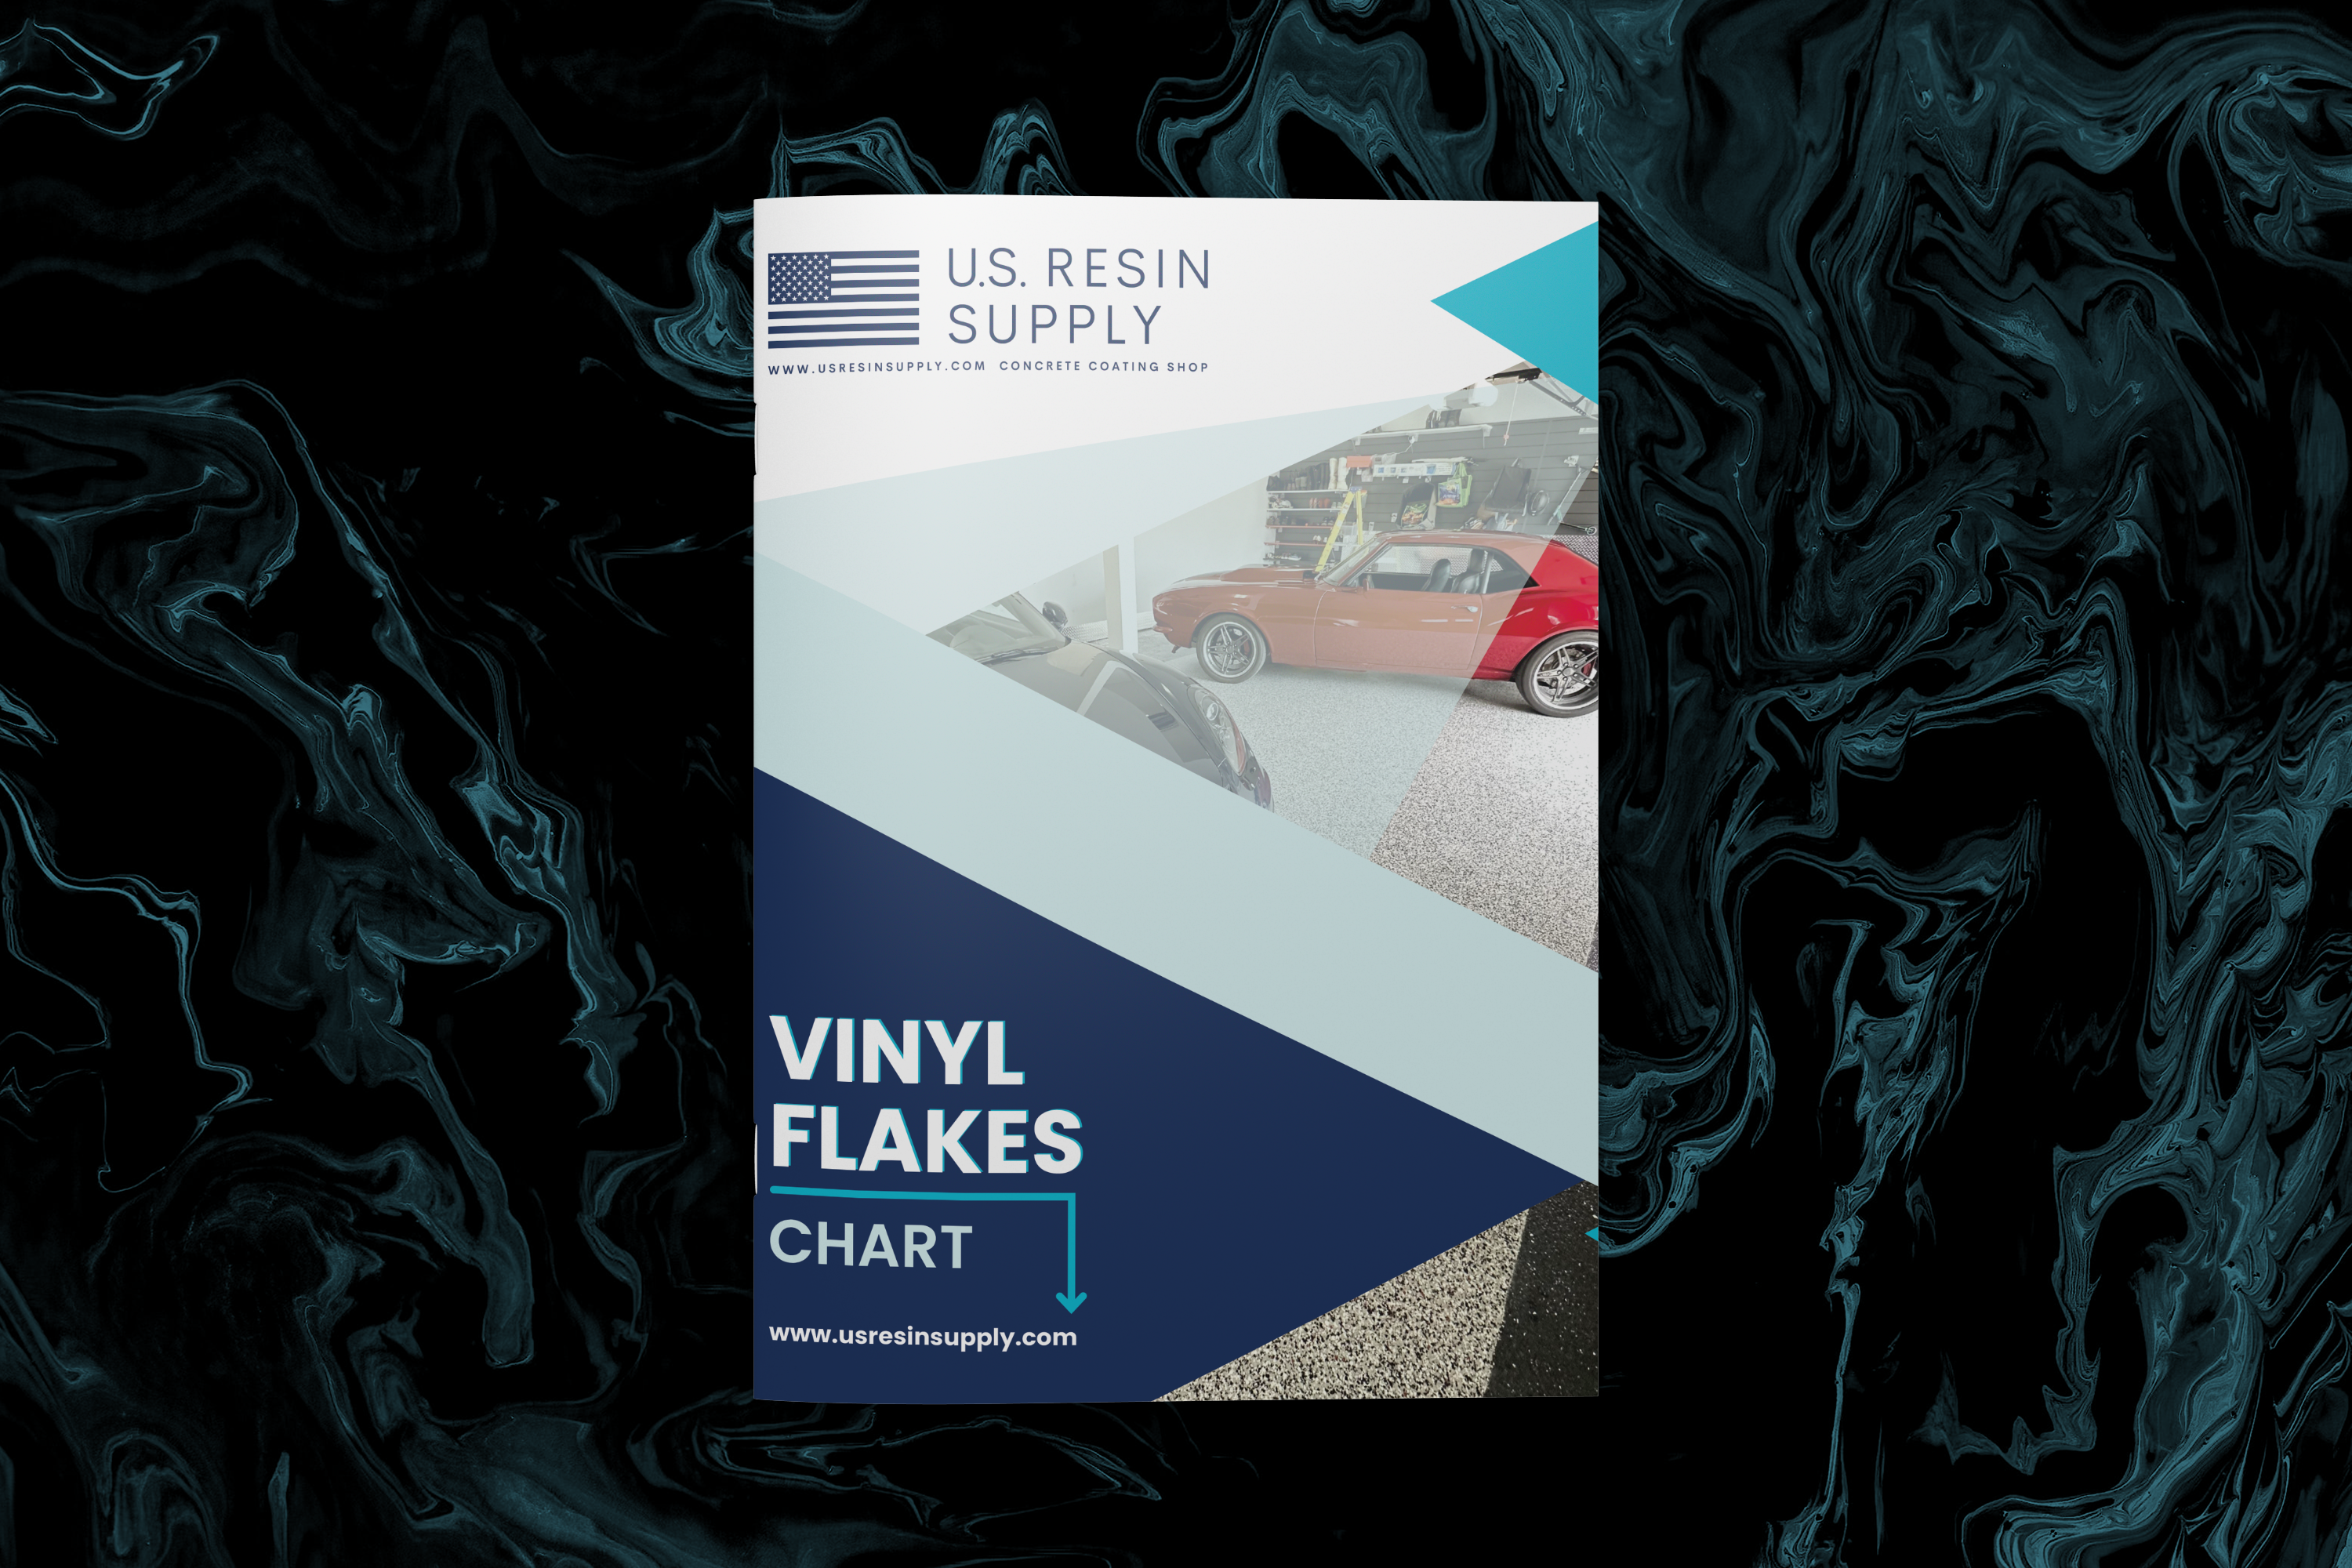
Select the blend and approve the finished sample with your installer.
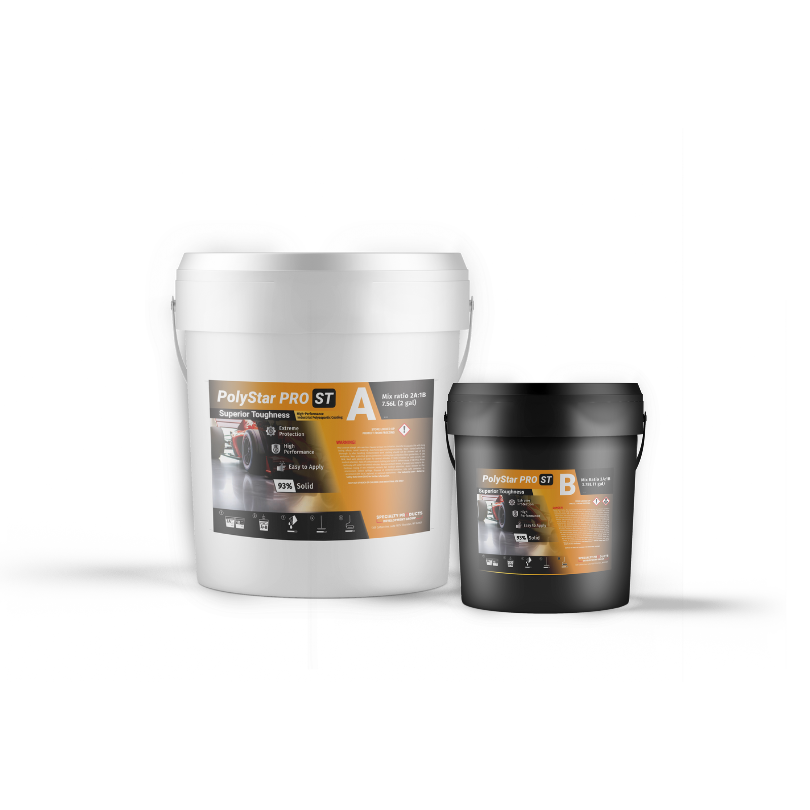
Clear polyaspartic topcoat over the prepared decorative broadcast.
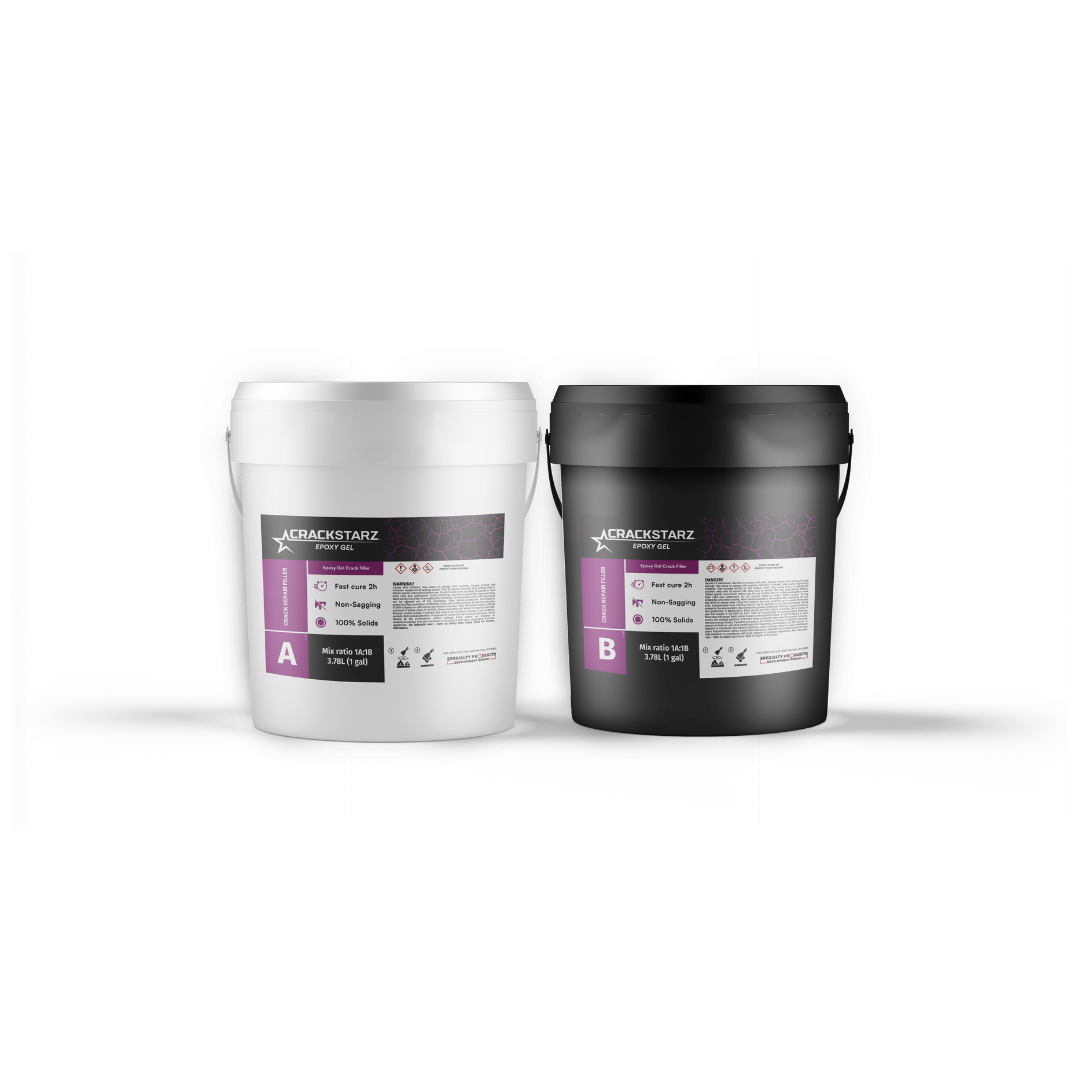
A repair option for appropriate concrete defects; confirm crack and joint treatment.
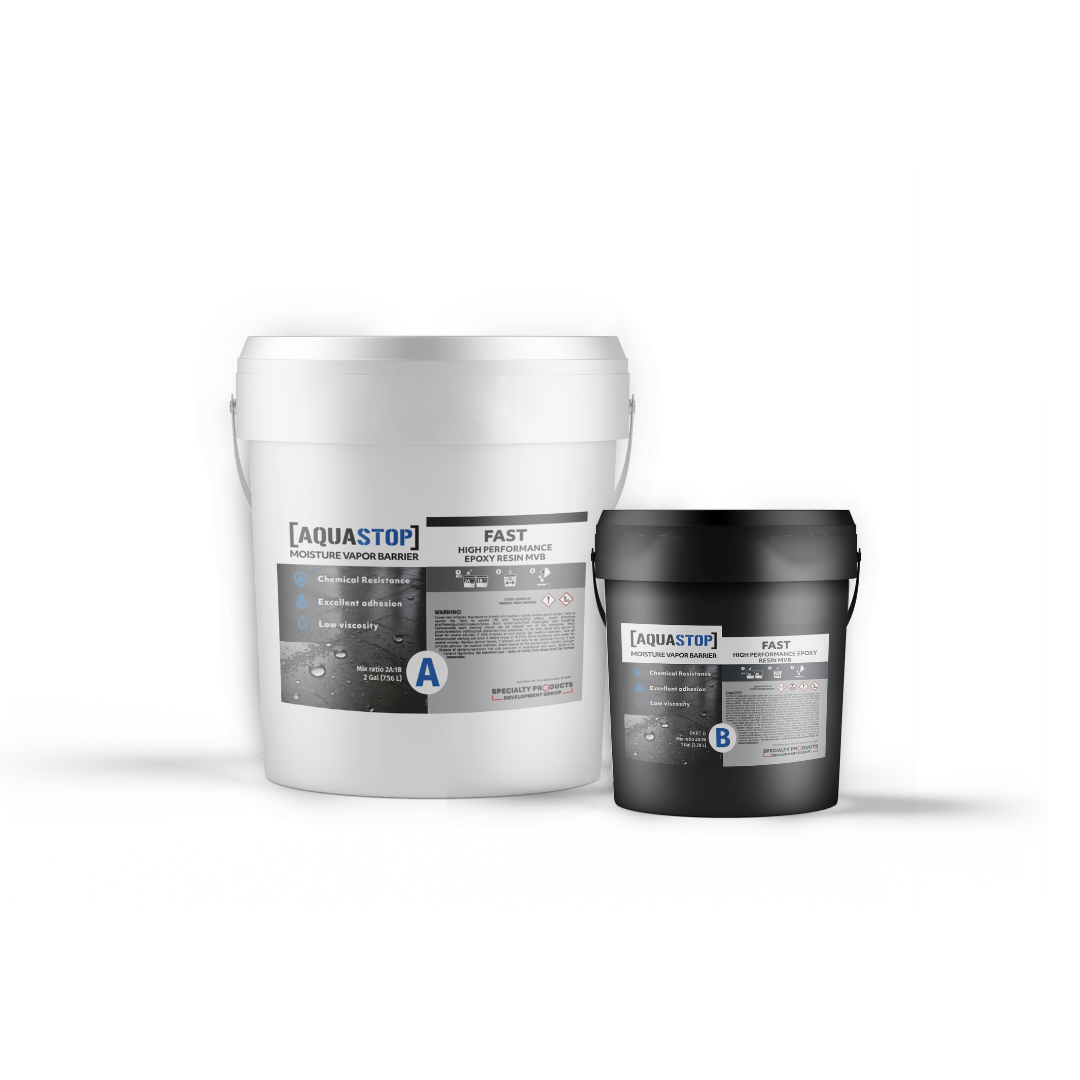
A conditional primer path. E-96 is another product to discuss after testing.
Record the existing coating, repairs, cracks, joints and moisture-test results. Use the moisture test method and acceptance criteria required by the selected product documents. A handheld meter alone does not establish an approved moisture specification.
Remove bond-breaking contaminants and mechanically profile the concrete. Select compatible repairs and confirm the treatment of moving joints before coating; do not assume a crack filler is appropriate for every joint.
Use each product’s current TDS and SDS. Stage materials, equipment and the crew before mixing. Record material, slab and air conditions and keep the work within the specified limits.
Confirm the base, broadcast and topcoat sequence in advance. Follow the selected product’s mixing, coverage, preparation and recoat requirements. If a window is missed, obtain the required preparation procedure before continuing.
Inspect coverage, texture and finish, and record the installed products and batch numbers. Give the owner written return-to-use instructions and the maintenance guide. Tack-free or dry-to-touch does not mean ready for vehicles or full service.
Approve the finish. A chart sets the direction. A physical sample shows how the blend, broadcast and clear finish work together.
Plan access. Repairs, moisture treatment, weather, product choice and cure requirements all affect the schedule. Ask when walking, parking and cleaning can resume.
Discuss texture. The feel underfoot and cleaning needs depend on the specified broadcast and topcoat. A textured appearance is not a slip-resistance rating.
Care after cure. Remove grit and spills promptly. Use approved neutral cleaners and soft cleaning tools, and avoid dragging equipment across the floor.
Ask a system question ↗Read the technical sheets for application and the safety sheets for handling. Request a project specification when the complete assembly needs confirmation.
Supplied finish inspiration. Approve a real project sample before choosing the final blend.
Get the finish, specification and schedule clear before installation.
Flake describes the decorative chips in the finish. Polyaspartic describes a coating chemistry. The typical path shown here uses an EpoxyStarz base, vinyl flake and a PolyStar PRO ST topcoat, so one floor can include both.
No single answer applies to every slab. Test the concrete and compare the results with the requirements of the complete product path. Add a compatible AquaStop treatment when specified; the decorative flake finish itself is not a moisture-control specification.
Do not plan vehicle use from a dry-to-touch or tack-free time. Your installer should give you a return-to-use schedule based on the exact products, site conditions and full assembly. Confirm that schedule before moving vehicles or equipment back in.
Water, contamination, footwear and the final surface all affect traction. Discuss the use of the space and any texture or traction requirements with your installer. A flake appearance alone does not establish a slip-resistance rating.
Start with the U.S. Resin vinyl flake chart, then ask for a physical sample of the intended blend, broadcast and clear finish. Screen colors and photographs are a starting point; approve the actual sample with your installer.
After the floor has fully cured, remove grit regularly and clean spills promptly. Use the approved neutral cleaner and soft pads or brushes described in the maintenance manual. Avoid abrasive cleaners and dragging equipment across the surface.
Products, documents and support for the next step.